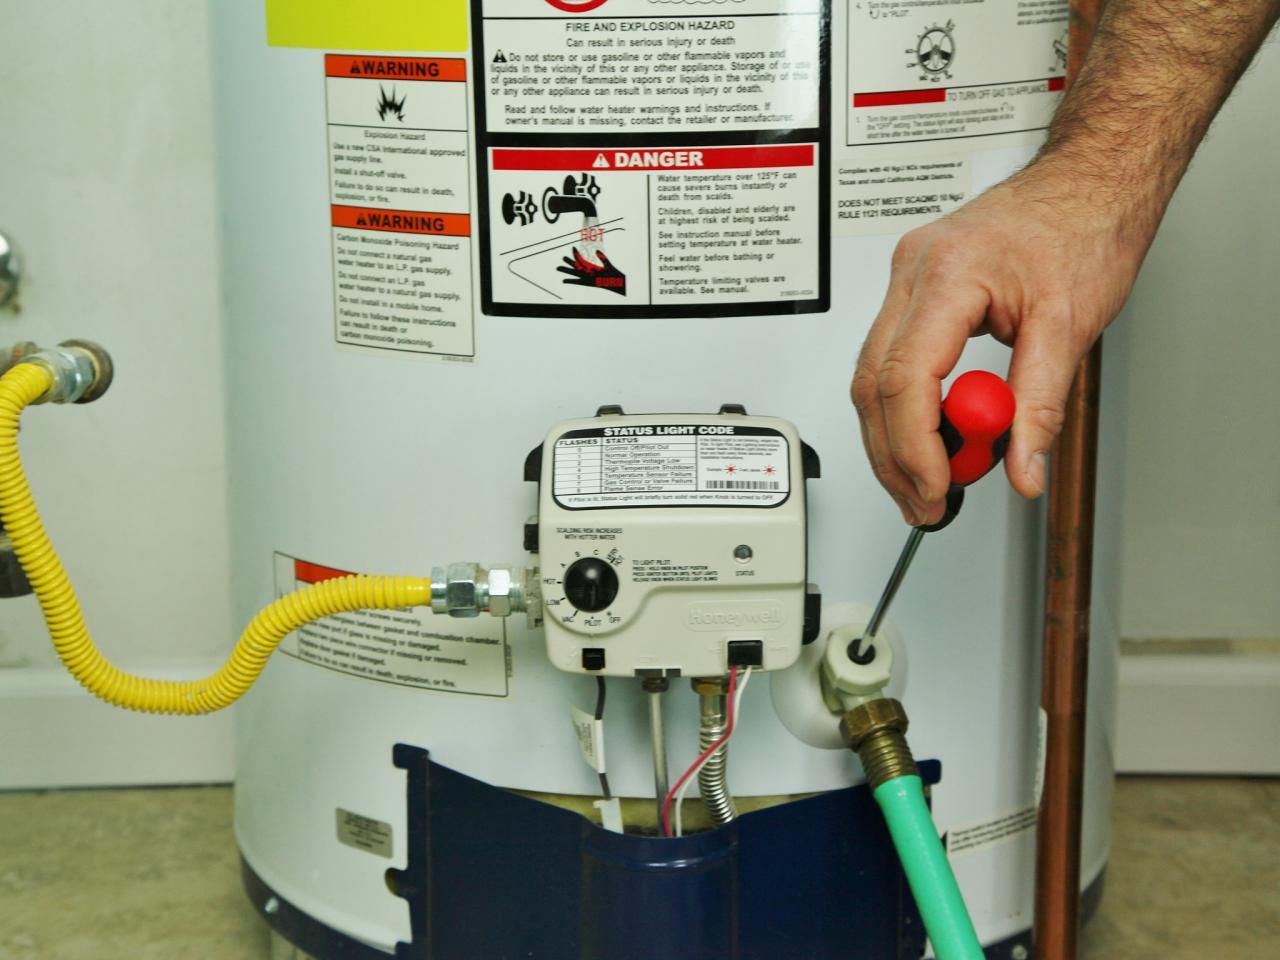
How to Light the Pilot Light for a Water Heater - A Fix For When Water Runs Cold

Lighting a Pilot Light for a Water Heater - For When the Shower Runs Cold
If you find that your shower water is running cold, it may be because the pilot light for your water heater has gone out. While cold water from the shower may come as a shock, relighting the pilot light is surprisingly easy! If you have the instruction manual for your water heater it can be handy, but it is not necessary. Follow our step-by-step guide below to relight your pilot light.
WARNING: Before beginning this project be sure that you there are no traces of gas. You should not be able to smell any gas, if you do smell gas, exit the house and contact a professional.
Materials:
- Screwdriver
- Flashlight
- Long neck lighter (barbecue lighter)

Reigniting the Pilot Light
Checking for Gas
- Check the Pilot. If you have a newer water heater you can view your pilot light from a glass panel. If you have an older model you will have to remove a small panel (access panel) to see the pilot light. If you do not see a small flame, your pilot has gone out.
- Check for Gas. Never try to delight the pilot if you have gas leaking from the water heater. It is extremely dangerous if you smell any hint of gasoline. Stand next to the water heater and see if you smell anything unfamiliar. Natural gas is undetectable to our nose, but gas companies add chemicals to alert us of its presence. After standing for one minute begin smelling the valves and the front and sides of the tank. Listen for any hissing noises. If you smell anything like rotten eggs, or anything unnatural, please contact a professional.
- Check the Panel. Check the inside of your water heater panel for detailed instructions on your specific model.

Preparing the Pilot Light
- Set the temperature valve to the coolest setting (lowest temperature). These can usually be found on the outside of the heater.
- Locate the regulator valve, this controls gas flow to the pilot burner below the tank. It is in the same place as the temperature valve, but likely to be on top of the box.
- Turn the knob to be completely off. Wait ten minutes to allow residual gas out of the water heater.
- Determine if you have an old style heater or a newer heater. Older heater require you to use your own flame to ignite the pilot. Use a long igniter to reach the pilot light. Do not use a match or small lighter to relight, you will burn yourself. Newer models come with an igniter. Though the buttons may vary, but they are usually red and located on the same box as the temperature valve.
- Locate the pilot. They are located at the end of a small silver tube that comes out of the control valve.

Lighting the Pilot
- Turn the gas regulator valve’s knob to “Pilot,” press down on the knob and hold it down. This starts the flow of gas to the pilot burner. On some water heaters, you press and hold down a separate red button to start the pilot burner gas flow. If your heater has a built igniter, look for a red or black button labeled “Ignition” on the top or side of the control valve.
- Push the button to light the pilot. You will hear a click as the igniter sparks. If your heater requires manual lighting, the safest lighter is a barbecue lighter, the longer the better. Apply the lighter flame to the pilot burner.
- Hold down the regulator valve knob for at least one minute after the pilot has been lit to allow the pilot light to heat the safety sensor that detects the presence of a live pilot flame. Slowly let up on the regulator valve knob. When the pilot light stays lit after you release the knob, turn the knob to “On.” You should hear a stifled sound as the main burner is ignited.
- Replace the panels.
How Great Pros Can Help
Got a bigger project you need help with? Let Great Pros help you find a licensed and insured contractor in your area! Give us the specific details on your project, and we’ll connect you to the best contractor for your needs. There is never pressure to buy when you use our free service.


